AD Delegation allows you to give users/groups access to certain parts of your AD without giving them full admin access. A great example is allowing Help Desk users to reset user passwords; this is actually quite easy and is a default option when delegating permissions to an OU. However, you may want your Help Desk users to be able to join/remove computer accounts to your domain which is a bit more difficult. By default, a standard user account can join up to 10 workstations to your domain and more than likely you’ll want them to join more. Here are the necessary steps as well as my recommendations:
1 – Create New OU for your Computers
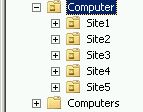
In this example, I made the top OU called Computer and made several sub OU’s. I suggest using an OU because you can apply a GPO at the topmost level to apply specific security to all of your computers.
2 – Redirect the Default Computers Container to the New Computer OU in AD
By default, computers joined to an AD domain are put in the Computers Container, which cannot have a GPO applied because it’s a container and not an OU. You can redirect that container to our new Computer OU using Redircmp.exe (http://support.microsoft.com/kb/324949). On your AD Domain Controller, run the following command (Replace DC=contoso,DC=local with your domain name):
|
1
|
C:\windows\system32>redircmp OU=computer,DC=contoso,DC=local
|
3 – Create a Global Security Group to Join/Delete Computers
Create a new Global Security Group, which we will use to delegate who can Join/Delete computers from AD. In my example, I’ll use a group called Join-Move-Delete Computer OU
4 – Delegate the Join and Delete Permissions
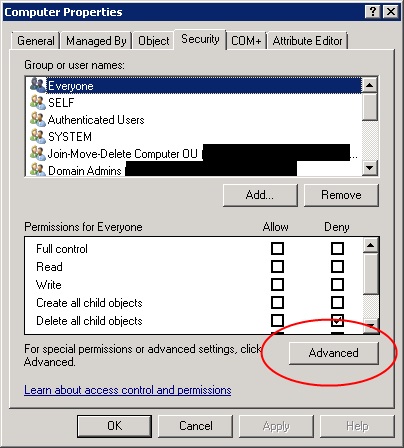
- Right-Click the Computer OU and select Properties
- Click the Security tab and click the Advanced button
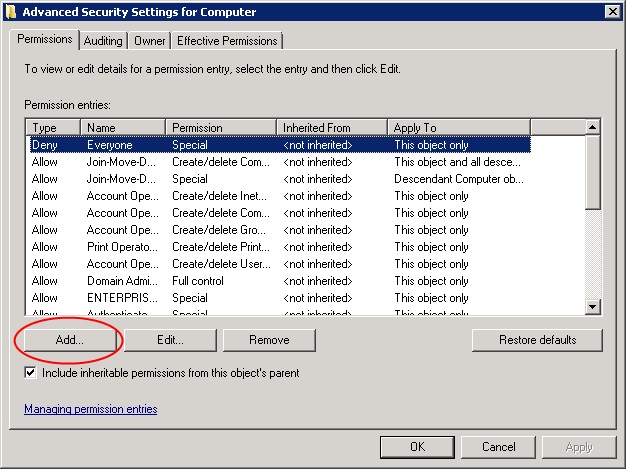
- Click the Add button, enter the name of the security group Join-Move-Delete Computer OU and click OK. You can now add any users you desire to this group.
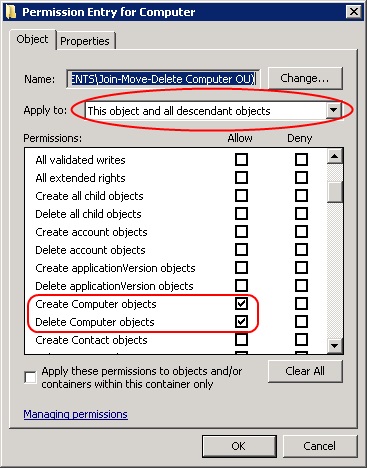
- Under Apply to, select This object and all descendant objects
- Under the Allow column, select Create Computer Objects and Delete Computer Objects
- Click OK on all of the screens to save the changes
All members of the Join-Move-Delete Computer OU group can now Add and Delete Computers in your domain.
5 – Delegate Moving Objects to Sub-OU’s in the Computer OU (Optional)
Optionally but likely, you may want your users to be able to move the computers they join to the proper OU. In that case, we need to add 1 more permission.
- Right-Click the Computer OU and select Properties
- Click the Security tab and click the Advanced button
- Click the Add button, enter the name of the security group Join-Move-Delete Computer OU and click OK.
- Under Apply to, select Descendant Computer objects
- Under the Allow column, select Write all properties
- Click OK on all of the screens to save the changes
All members of the Join-Move-Delete Computer OU group can now move computers between all of the Sub-OU’s in the Computer OU.