Step 1: Backup Windows Server 2008 R2 certificate authority database and its configuration
- Log in to Windows 2008 R2 Server as member of local administrator group
- Go to Start > Administrative Tools > Certificate Authority
- Right Click on Server Node > All Tasks > Backup CA
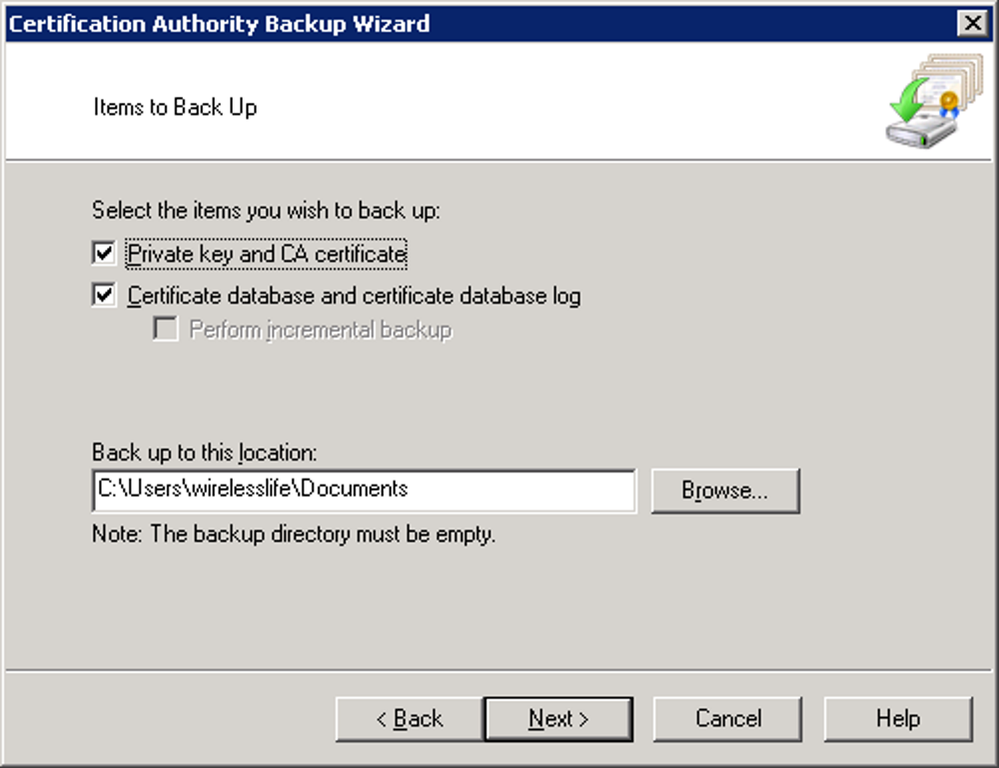
Certification Authority Backup CA - Click Next on the Certification Authority Backup Wizard screen
- Click both check boxes to select both items to backup and provide the backup path for the file to be storedCertification Authority Backup Wizard Item Selection
- Click Next
- Provide a password to protect private key and CA certificate file and click on next to continue
- Click Finish to complete the process

Step 2: Backup CA Registry Settings
- Click Start > Run > type regedit and click OK
- Expand the key in following path: HKEY_LOCAL_MACHINE\SYSTEM\CurrentControlSet\Services\CertSvc
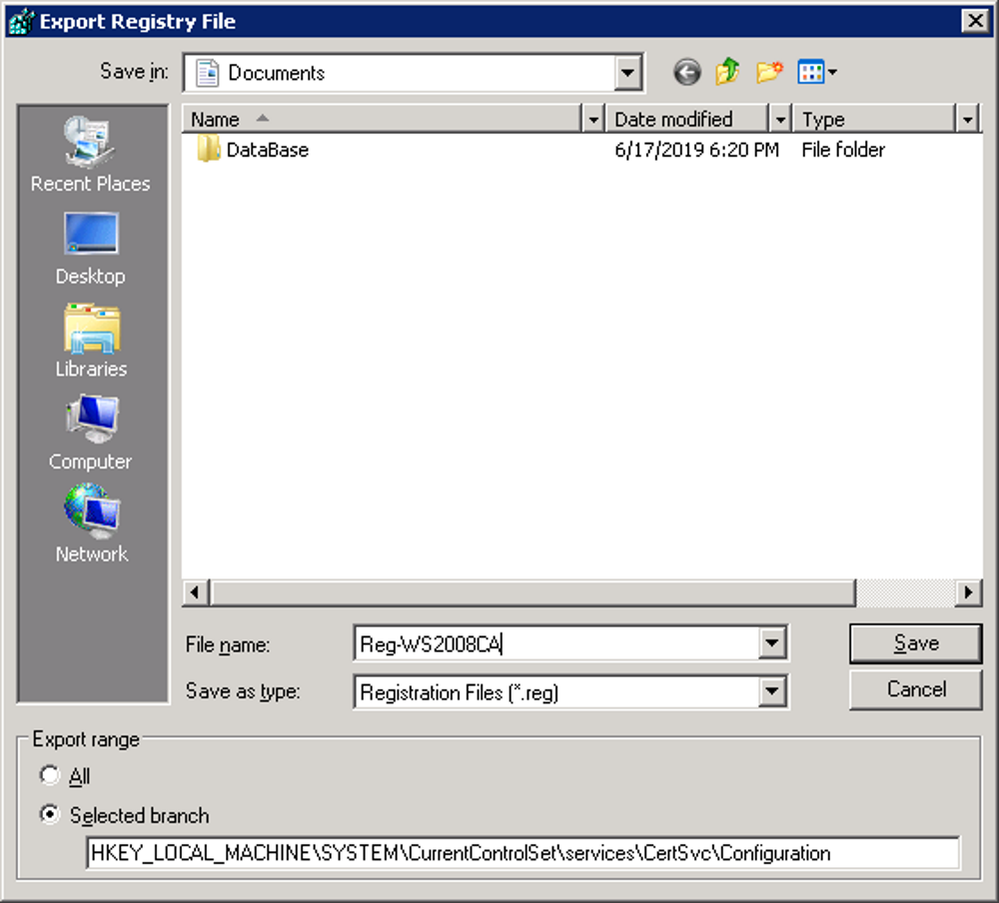
- Right click on the Configuration key and click Export
- Provide a name, save the backup file and then click on save to complete the backupBackup CA Registry Settings
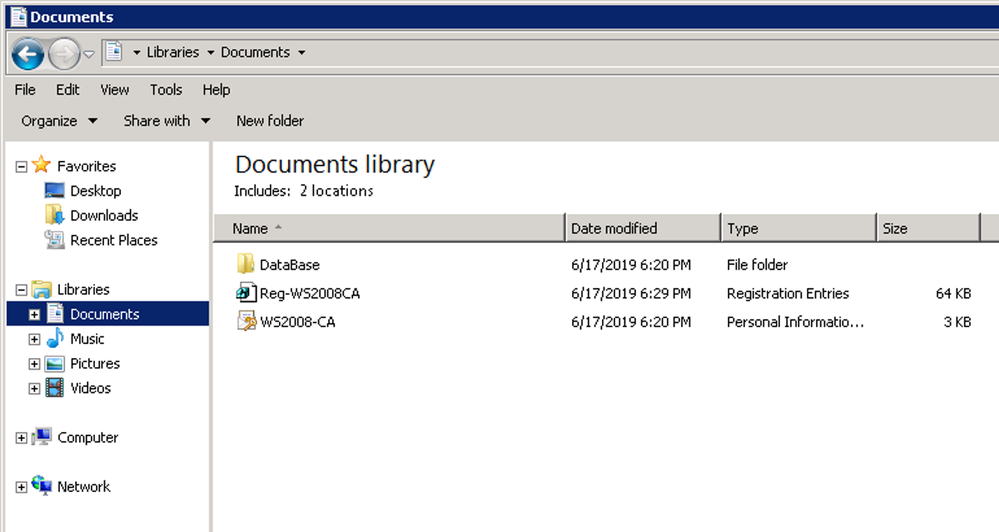
Backup of the Certificates is now complete and the files can now be moved to the new Windows 2016 / 2019 server.
CA Backup complete
Step 3: Uninstall CA Service from Windows Server 2008 R2
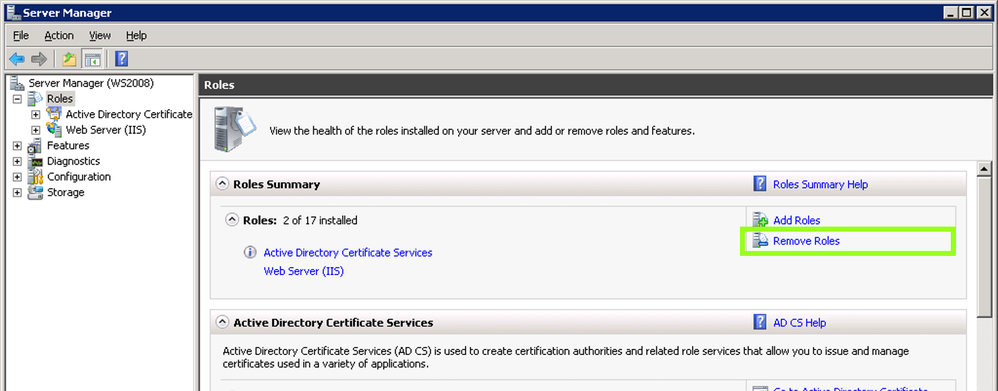
- Navigate to Server Manager
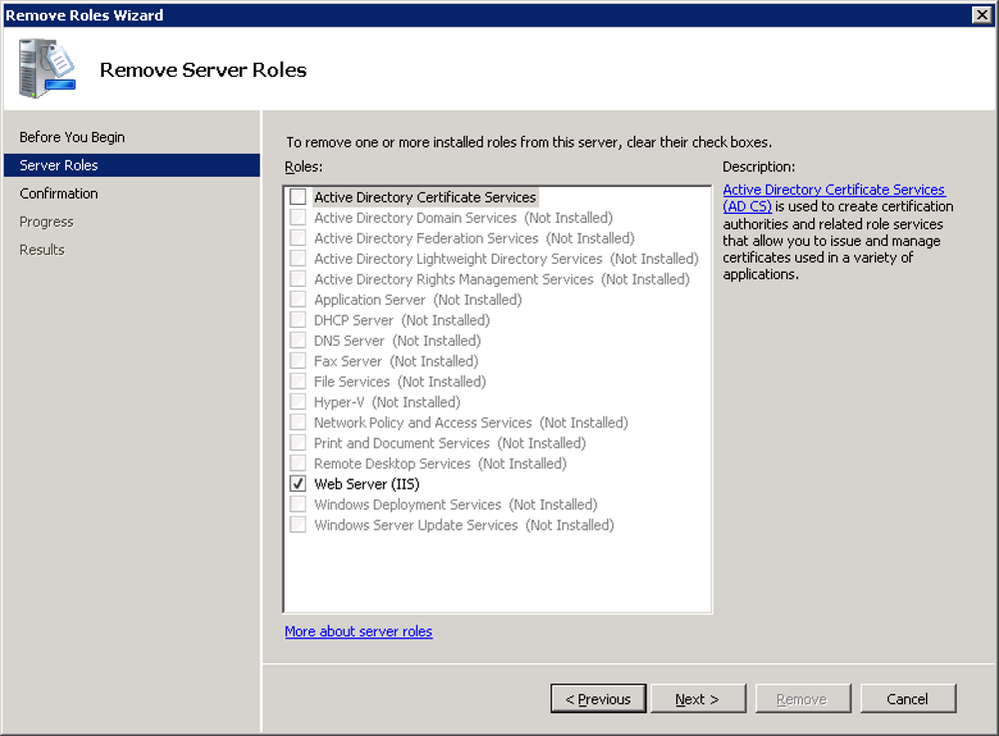
- Click Remove Roles under Roles Summary to start the Remove Roles Wizard, and then click NextUninstalling a CA
- Click to clear the Active Directory Certificate Services check box and click NextRemoving Active Directory Certificate Services
- Click Remove on the Confirm Removal Options page
- If Internet Information Services (IIS) is running and you are prompted to stop the service before you continue with the uninstall process, click OK
- Click Close
- Restart the server to complete the uninstall
Step 4: Install Windows Server 2016 / 2019 Certificate Services
*NOTE: The screenshots below show the server name as WS2019 to highlight which server we are working on. This step-by-step highlights screenshots from Windows Server 2019. Windows Server 2016 process is the same with similar screenshots
- Log in to Windows Server 2019 as Domain Administrator or member of local administrator group
- Navigate to Server Manager > Add roles and features
- Click on next to continue in the Add Roles and features Wizard
- Select Role-based or Feature-based installation and click next
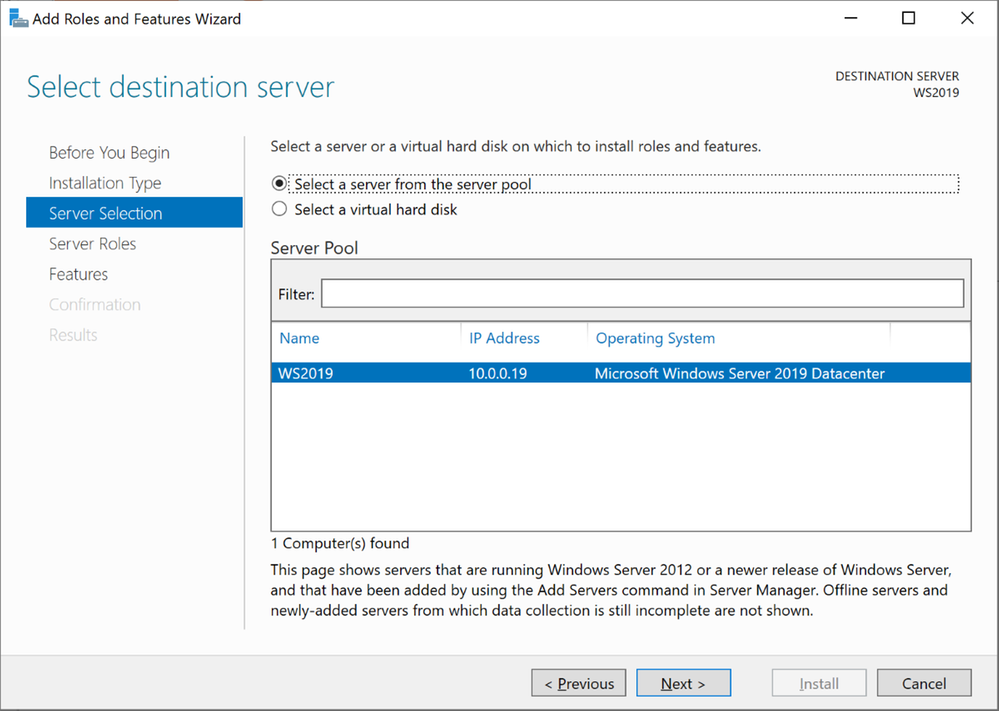
- Keep the default selection from the server selections window and click nextWindows Server 2019 Server Selections
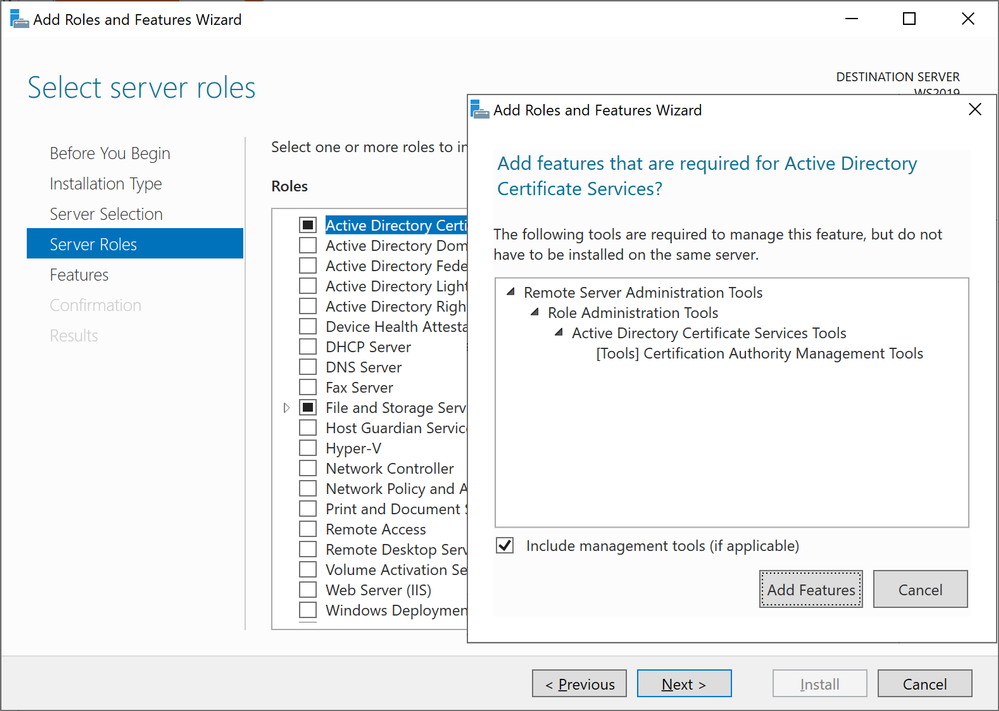
- Select Active Directory Certificate Services, click next in the pop up window to acknowledge the required features that need to be added, and click next to continueAdding Active Directory Certificate Services
- Click Next in the Features section to continue
- Review the brief description about AD CS and click next to continue
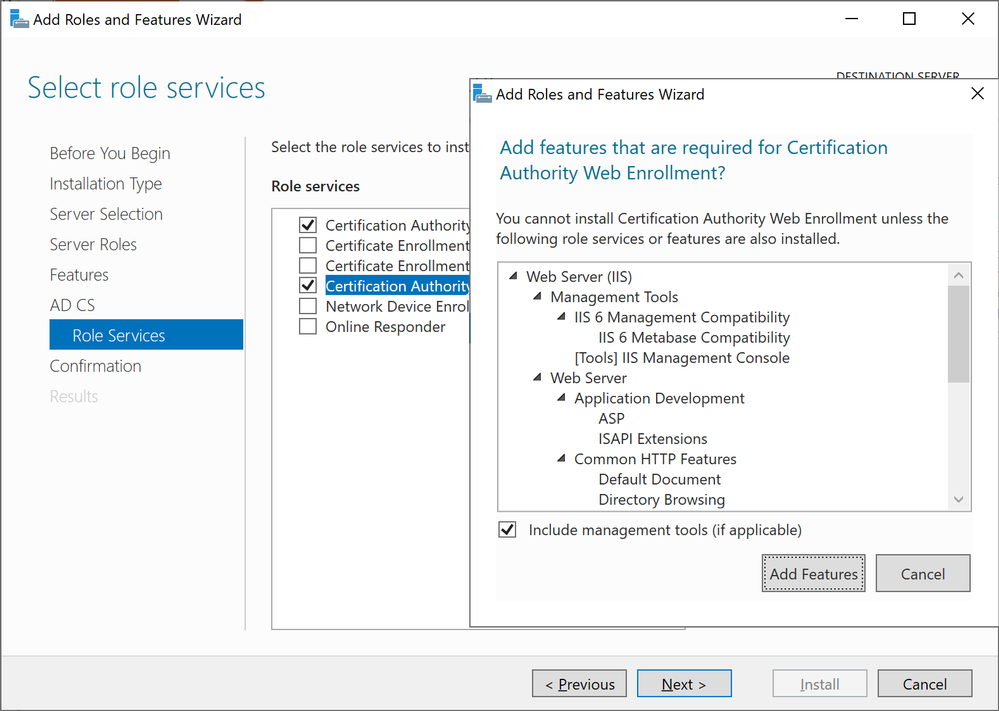
- Select Certificate Authority and Certification Authority Web Enrollment, click next in the pop up window to acknowledge the required features that need to be added, and click next to continueWindows Server 2019 Add Role Services
- Review the brief description about IIS and click next to continue
- Leave the default and click next to continue
- Click Install to begin the installation process
- Close the wizard once it is complete
Step 5: Configure AD CS
In this step will look in to configuration and restoring the backup created previously
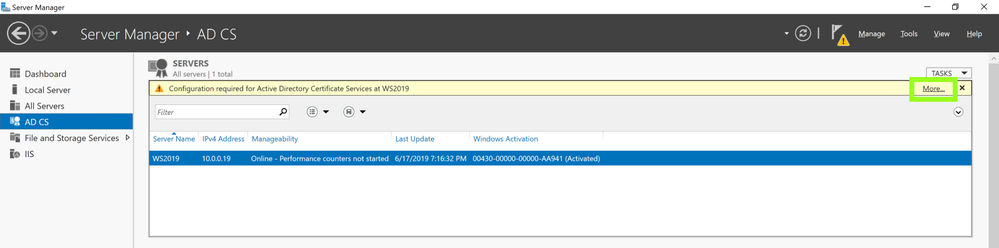
- Navigate to Server Manager > AD CS
- In right hand panel it will show message as following screenshot and click on MoreAD CS
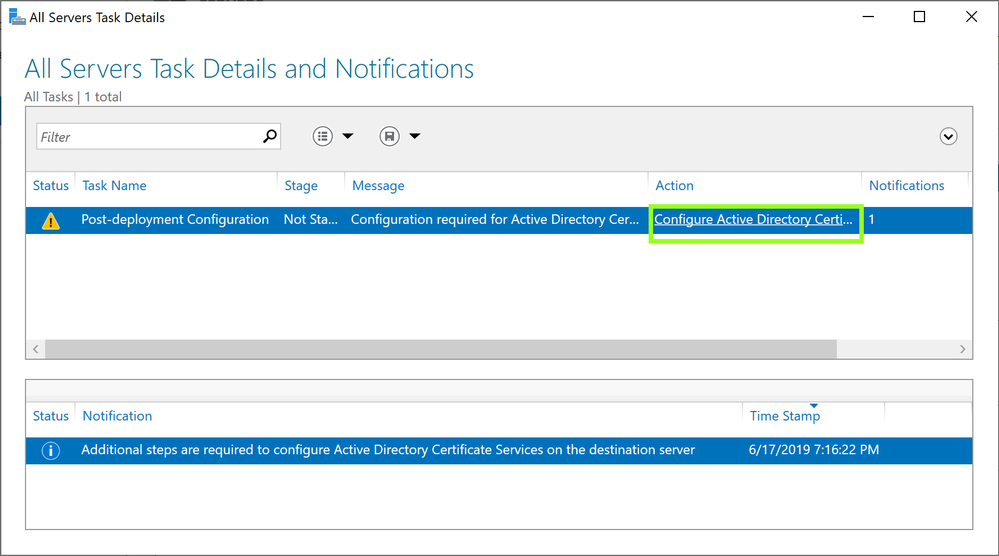
- Click on Configure Active Directory Certificate Service …… in the pop up windowConfigure Active Directory Certificate Service
- In the Role Configuration wizard, ensure the proper credential for Enterprise Administrator is shown and click next to continue
- Select Certification Authority and Certification Authority Web Enrollment and click next to continue
- Ensure Enterprise CA is selected the setup type and click next to continue
- Select Root CA as the CA type and click next to continue
- With this being a migration, select Use existing private key and Select a certificate and use its associated private key and click next to continueAD CS Configuration
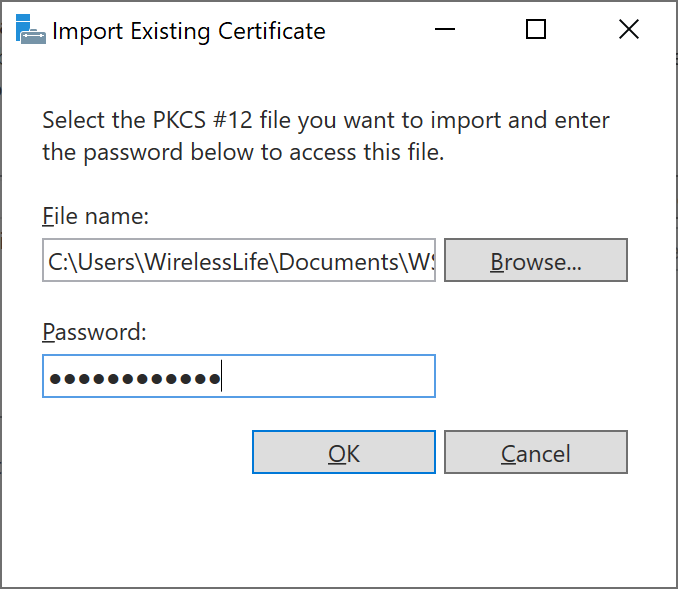
- Click Import in the AD CS Configuration window
- Select the key backed up during the backup process from windows 2008 R2 server. Browse and select the key from the backup we made and provide the password we used for protection and click OK.Import Existing Certificate
- With the key successfully imported and select the imported certificate and click next to continue
- Leave the default certificate database path and click next to continue
- Click on configure to proceed with the configuration process
- Close the configuration Wizard once complete
- Open the Command Prompt in Administrator Mode
- Run the following to stop certificate services
net stop certsvc
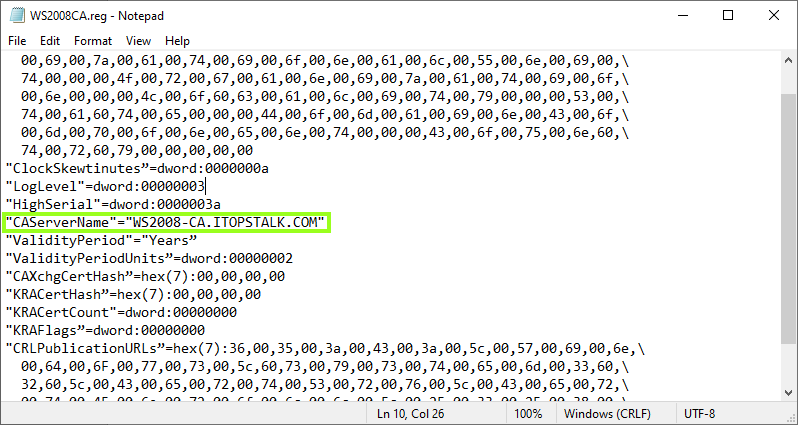
- Open the registry file exported from the Windows 2008 server in NotepadNOTE: Please ensure you have tested this in lab first prior to completing these steps. While the solution was successful in lab it may not reflect your organization’s current setup and may disrupt your service. Microsoft is not liable for any possible disruption that may occur.
- Locate CAServerName and change the value to the name of the NEW 2016 / 2019 Windows ServerModify registry file
- Save the changes in Notepad

Step 6: Restore CA Backup
- Navigate to Server Manager > Tools > Certification Authority
- Right click on server node > All Tasks > Restore CA
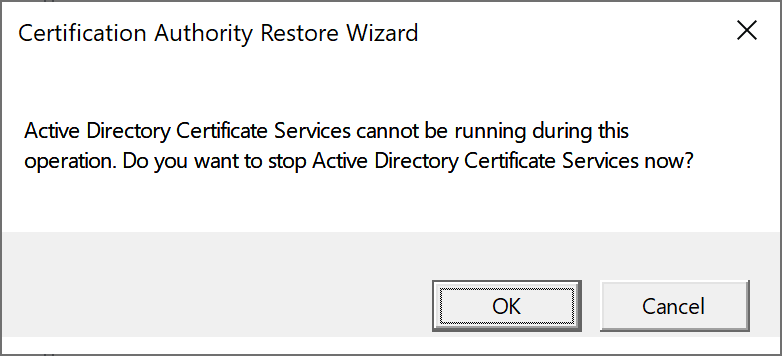
- A window will appear confirming the stop of Active Directory Certificate Services. Click OK to continue.Confirm stop of Active Directory Certificate Services
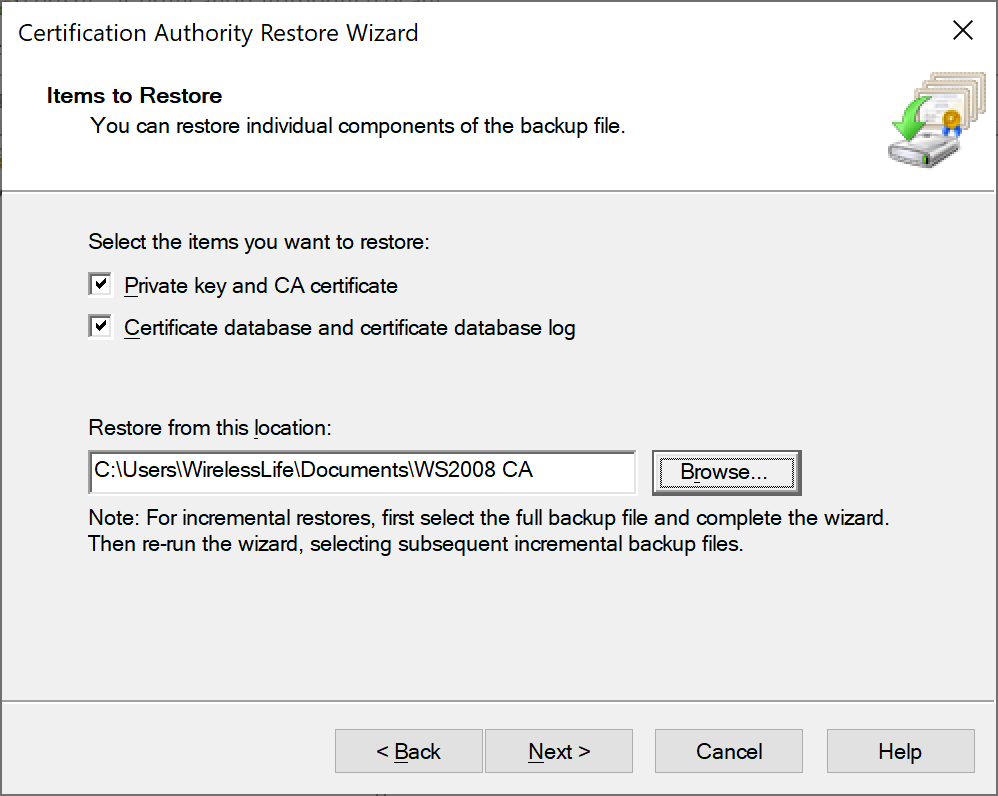
- Click Next to start the Certification Authority Restore Wizard
- Click both check boxes to select both items to restore and provide the backup path for the file to be restored fromCertification Authority Restore Wizard
- Enter the password used to protect private key during the backup process and click next
- Click Finish to complete the restore process
- Click Yes to restart Active Directory Certificate Services
Step 7: Restore Registry info
- Navigate to the folder containing the backed-up registry key with the newly edited CAServerName value and double click > Run to initialize the restore
- Click yes to proceed with registry key restore
- Click OK once confirmation about the restore is shared
Step 8: Reissue Certificate Templates
It is now time to reissue the certificate with the migration process now complete.
- Under Server Manager, navigate to Tools > Certification Authority
- Right click on Certificate Templates Folder > New > Certificate Template to Reissue
- From the certificate templates list click on the appropriate certificate template and click OK
This completes the Active Directory Certificate Service migration steps from 2008 R2 to 2016 / 2019 containing a different server name.